This tutorial has very easy and simple steps to create this wonderful effect. Only step that is Warp transformation needs some practice.
1. Create a new file with dimensions 500*500pixels.
2. Create a new layer. Press d to sett default foreground and background color. Go to Filter->Render->Clouds.
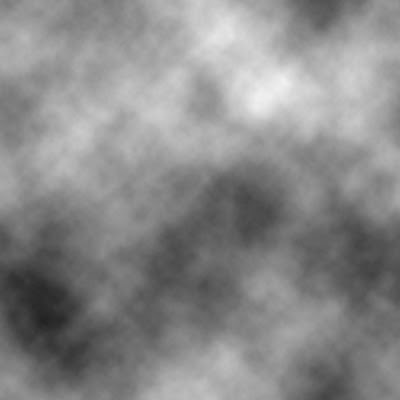
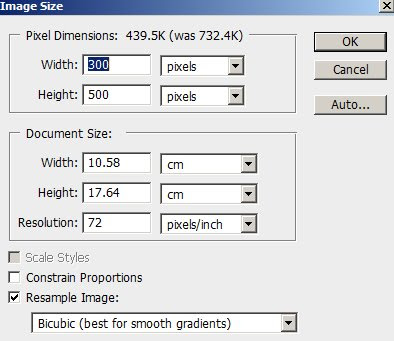
3. Go to Filter->Blur->Gaussian blur. Set the radius to 6pixels. Then go to Filter->Blur->Motion blur. Set the angle to 90degree and distance to 80pixels. Next go to Image->Image size and set the following settings:
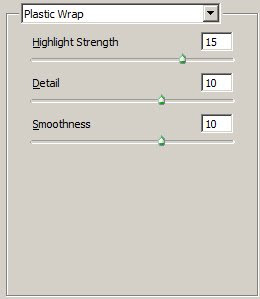
4. Go to Filter->Artistic->Plastic wrap and apply following settings:
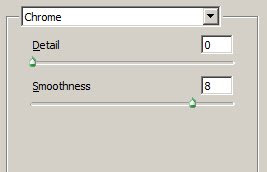
Go to Filter->Sketch->Chrome and apply following settings:
5. Then go to Edit->Fade chrome and set blending mode to Hard light.
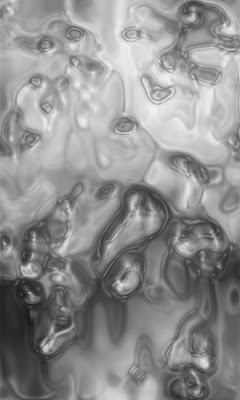
6. Go to Image->Image size and apply following settings:
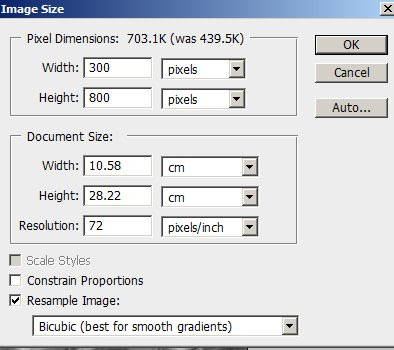
7. Now go to Edit->Transform->Warp. Move the anchors so that it is shaped as running water. See the following image to get an idea:
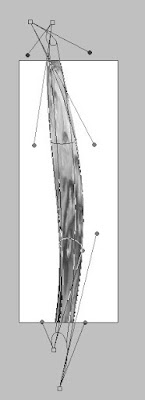
Add some background color or gradient(It's better to use blue shade so that the effect looks realistic) and change the running water layer's blending mode to Hard light.
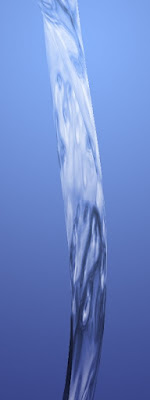
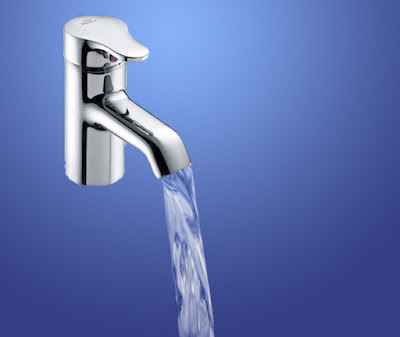
I have resized the water layer and used it with a tap.
1. Create a new file with dimensions 500*500pixels.
2. Create a new layer. Press d to sett default foreground and background color. Go to Filter->Render->Clouds.

3. Go to Filter->Blur->Gaussian blur. Set the radius to 6pixels. Then go to Filter->Blur->Motion blur. Set the angle to 90degree and distance to 80pixels. Next go to Image->Image size and set the following settings:

4. Go to Filter->Artistic->Plastic wrap and apply following settings:

Go to Filter->Sketch->Chrome and apply following settings:

5. Then go to Edit->Fade chrome and set blending mode to Hard light.

6. Go to Image->Image size and apply following settings:

7. Now go to Edit->Transform->Warp. Move the anchors so that it is shaped as running water. See the following image to get an idea:

Add some background color or gradient(It's better to use blue shade so that the effect looks realistic) and change the running water layer's blending mode to Hard light.

I have resized the water layer and used it with a tap.

2 comments:
Added to www.psaddict.com
Thanks!!
Post a Comment