2. Select a gray shade from foreground color palette. Press Alt+Backspace to fill the rectangular area. Press Ctrl+D to deselect the duct layer.
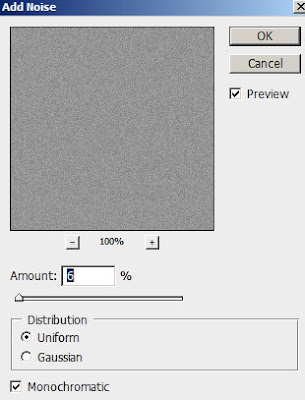
3. Press D to change to Default background and foreground color. Lets add some noise. Goto Filter->Noise->Add noise. Apply following settings:
4.Add some texture to the duct layer. Go to Filter->Texture->Texturizer and apply settings:

5. Fade the texture a bit by going to Edit->Fade Texturizer and set the opacity to 50%.
6. Double click the Duct layer to bring Layer style window and apply following settings:
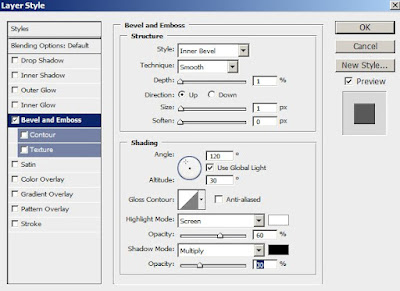
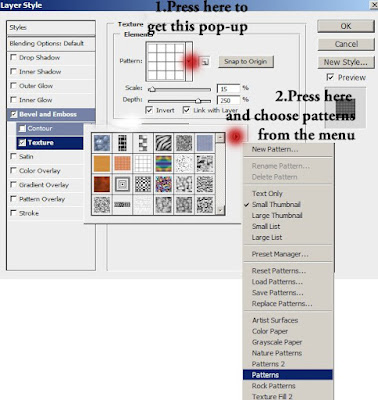
7. Using Lasso tool make a selection to the edges of the duct layer so that it looks like torn off.
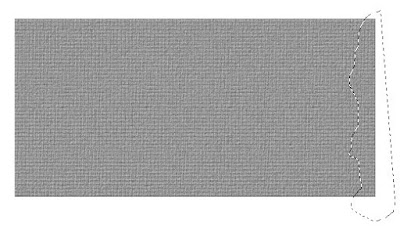
And press delete. Repeat the same at the other side.
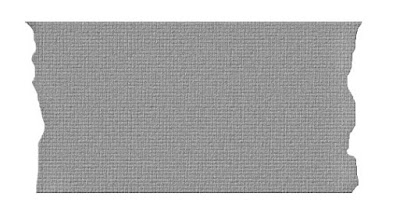
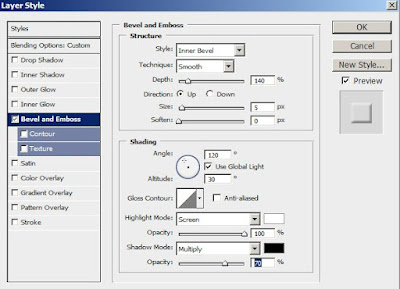
8. Create a new layer. I have named it wrinkles. Change the opacity of wrinkles layer to 50% and fill to 0%. Double click this layer to bring the layer style window. Apply the following settings:
9.Set the foreground color to black. Using Lasso tool make selections on the tape area to look like wrinkles and press Alt+Backspace to fill it.
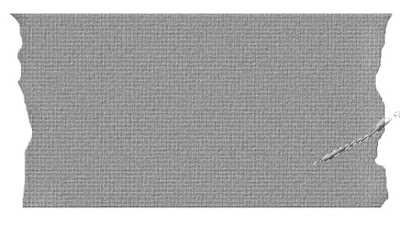
10. Make many wrinkles like that.
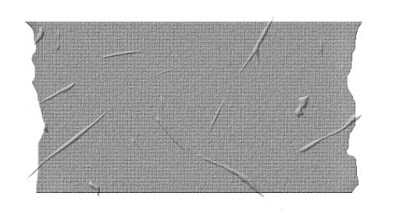
Some wrinkles are extending outside the tape to overcome this problem right click the wrinkle layer and select Create clipping mask. If you want can add some text and change its blending mode to Overlay.

No comments:
Post a Comment